
An ancient gardening technique dating back to the Romans, straw bale gardening is a simple concept. As a straw bale starts to decompose or break down, it turns into a raised, compostable, 40-gallon planter that’s ideal for growing vegetables. Strawbale gardens are inexpensive, easy to set up, easy to maintain, and biodegradable.
Strawbale gardening eliminates digging and weeding and is the best way to avoid diseased soil or poor-draining, hard-to-work soil. A straw bale is the perfect gardening container. It starts as a sterile medium, and by season’s end, the bale has transformed into nutrient-rich, organic compost.
How To Build A Straw Bale Garden
If you want a lovely garden, but your homestead soil is of poor quality or the proposed garden site is rocky and full of roots and weeds, stress no more. Strawbale gardening is the perfect way to grow a lush, bountiful garden in areas with poor-quality soil. It’s like planting in grow bags at a fraction of the cost.
1. Select And Collect Straw Bales For Your Garden
When choosing the type of straw for your garden, choose oat, vetch, rye, wheat, buckwheat, or barley. Avoid corn, flax, linseed, or pine straw as the stalks and needles are slow to compost and rough to handle. Make sure you select straw, not hay. Straw is the stalk of the grains left after the seeds have been removed by the threshing process. Hay is full of seeds that sprout.
Source your bales from an organic farm to avoid exposing your plants to a growing medium that may be saturated with toxic herbicides, pesticides, or chemical fertilizers used by nonorganic farms.
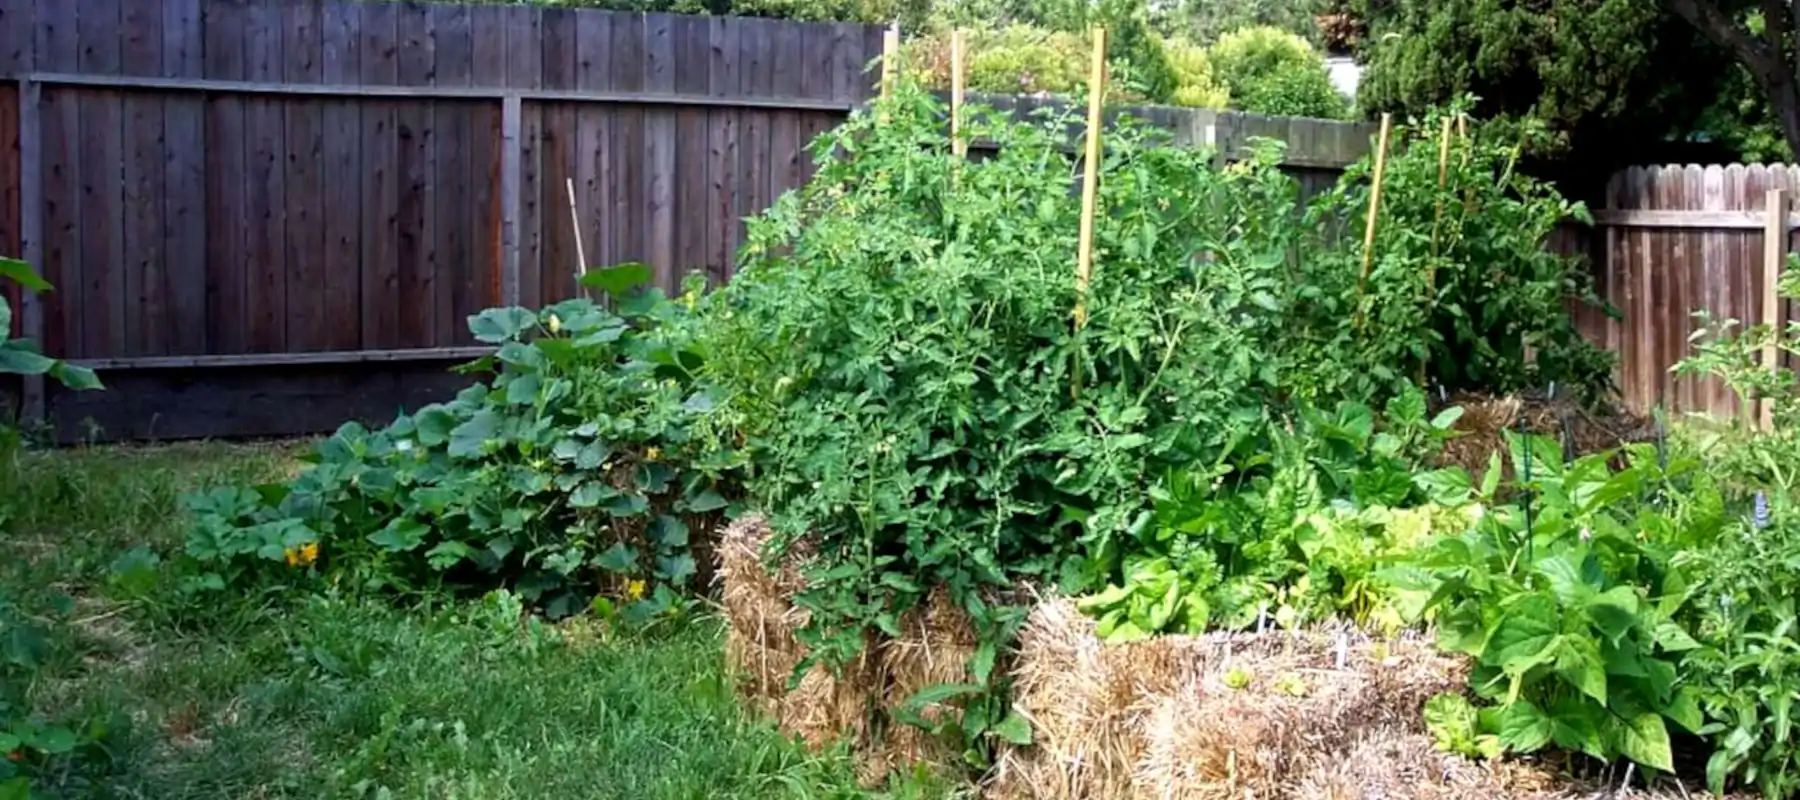
2. Choose A Location For Your Straw Bale Garden
 Position your bales, side-by-side and cut side up, in a location that receives a minimum of six hours of sunlight daily. Be sure to have your bales laid out exactly as you want them before watering. Wet bales are extremely heavy and difficult to move.
Bales can be positioned on soil or concrete. When laying out your garden, you are only limited by your imagination. You may plan just a few bales in a block or row or several in a curve or circle. Just be sure to remember to leave plenty of room to walk around the bales for ease of planting, tending, and harvesting your vegetable crop. Place a layer of cardboard or landscape cloth beneath the bales to minimize weeds sprouting up through your garden if placing them on the soil. It is best to avoid placing the bales on clay or in an area that does not provide good drainage.
If you choose a slow-to-drain spot, the area around the bottom of the bales will remain a muddy mess. Water tends to pool where you would like to position bales, it is best to keep them up of the ground by placing bales on wood pallets. If you plan to plant crops that vine, a trellis, fence panel, or wooden shipping pallet positioned vertically between the bales, will provide the support vining vegetables such as squash, cucumbers, and melons require.
3. Prepare Your Bales For Planting
Two weeks before you are ready to start planting, get your garden cooking by watering and fertilizing the bales to begin the composting process. During the first week, evenly pour one cup of organic fertilizer over the bales, followed by enough water to wash the fertilizer down into the straw. Over the next several days, just water daily to keep the bales uniformly damp. Sometime during the last 3 to 4 days of the prep process, sprinkle a cup of bone meal and a cup of wood ash over every bale before watering.
4. Plant Your Garden
 If you stick your finger in the bale and it feels hot, you know that the composting process is working. During the next week continue to keep the bales moist. You will likely notice dirt-like clumps of black material starting to cover the bales which signals they are ready to plant.
Cover the bales with 2 to 3 inches of weed-free potting soil mix and plant as you would in a traditional garden if you plan to start with seeds. Starting with seedlings, use a pointed trowel to poke a hole in the bale, and place a bit of topsoil in the bottom. Position the transplant in place, and add enough topsoil in the hole to support the seedling, and hold it upright in place.
Summer squash, cucumbers, peppers, eggplant, and tomatoes are some of the easiest vegetables to grow in bales. Lettuce, radishes, leeks, onions, and annual herbs also lend themselves well to straw bale gardening. As you become familiar with the straw bale method of gardening (and as space allows), you can add more bales and plant a larger variety of edibles.
5. Water And Fertilize
Keep in mind, straw bales dry out quickly, especially on windy days. To ensure that your garden receives the right amount of water, install a drip sprinkler system connected to an automated timer. Make sure to keep bales moist, fertilizing with an organic fertilizer every other week. Select a fertilizer with nitrogen, phosphorus, potassium, and micronutrients. Apply according to the manufacturer’s package directions.
Typically, straw bales are replaced every year. At the end of the growing season, they will be significantly decomposed and breaking apart. After the harvest, add straw bales and plant trimmings to the compost pile.
A Note On Using Hay Instead Of Straw
When you use hay bales, you will need to trim sprouts and weeds periodically. However, voluntary weeds and grain sprouts are easy to pull. Hay bales have the advantage over straw in that they are a rich source of nitrogen which all plants require for vigorous growth.
An excerpt from “The Basics of Straw Bale Gardening“, courtesy of Instead Gardening.
Marlene Affeld
Readers Comments