


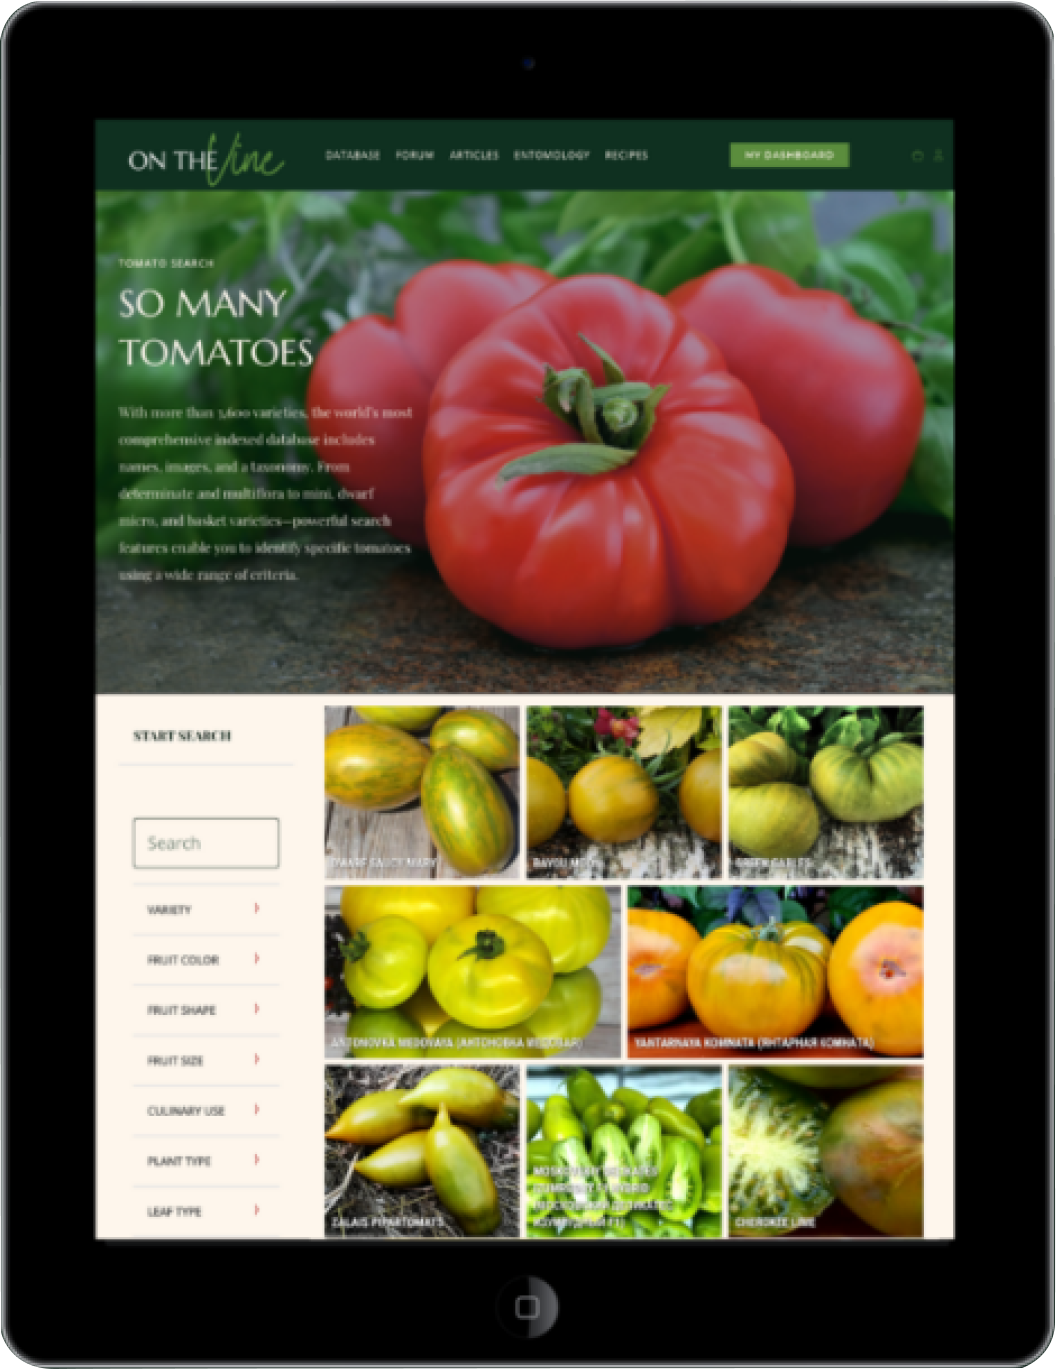
Identify and discover specific tomatoes using
our powerful search features and a wide range
of taxonomic criteria.


Save 24% on a World
Tomato Society membership.
100% of membership profits
go to your favorite Seed Provider.
Use the promotional code from
a participating seed company’s
page at the checkout.

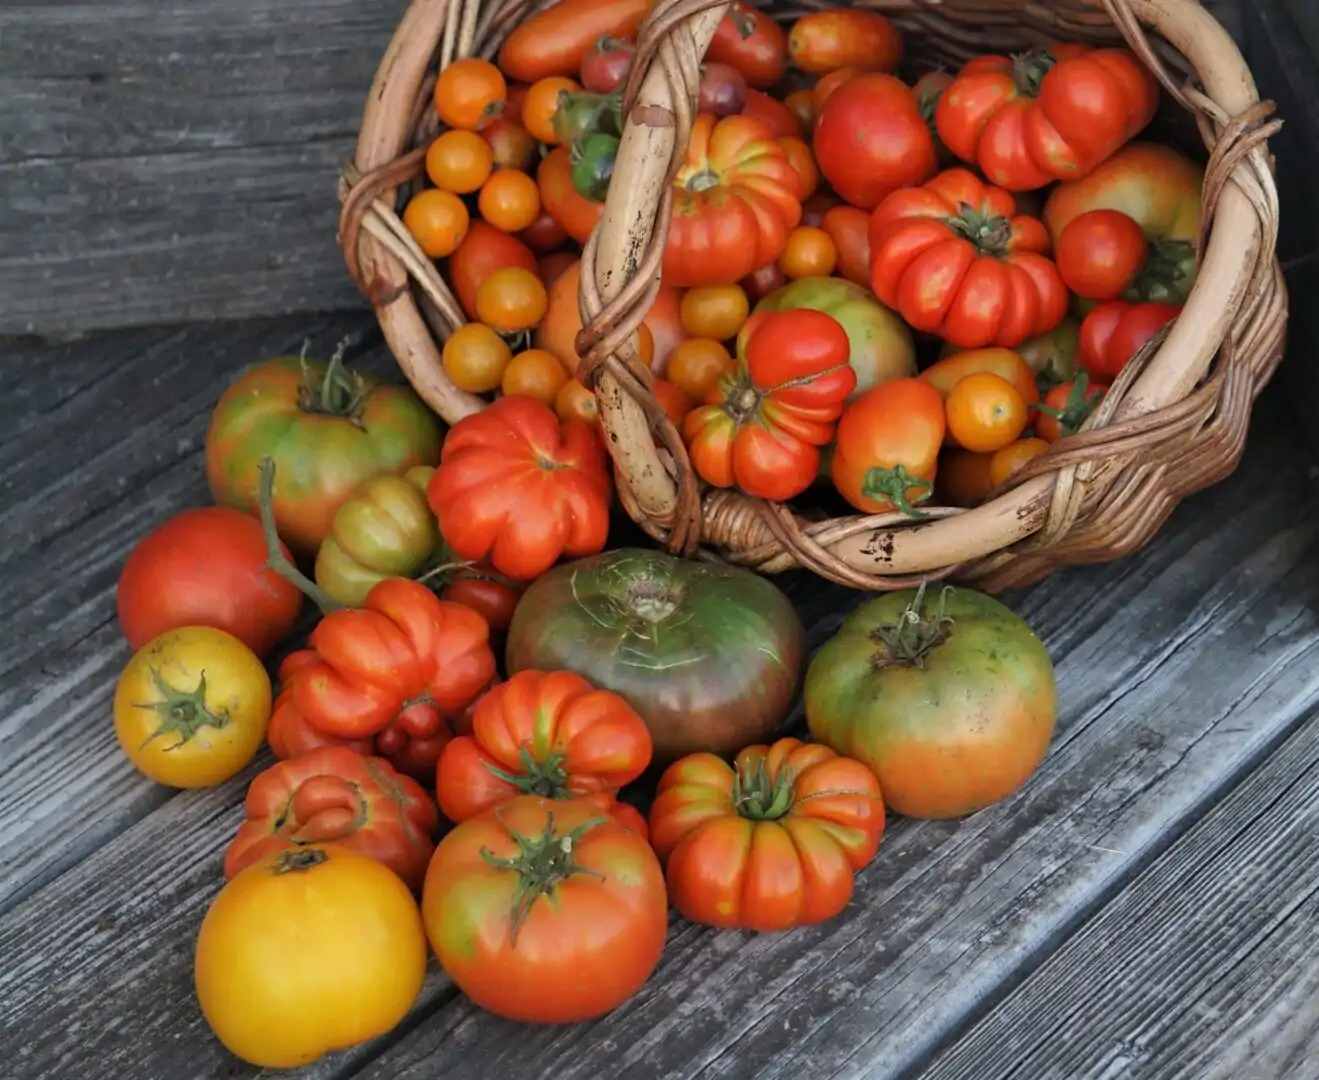
5 Tips to Help You Finalize Your Grow List
LEARN MORE

No matter how little (or how much) space you have
LEARN MORE